
Lesson 4 - How to Manage and Assign Bookmarks

Bulletproof Notion Work Management System
For Accountants and Bookkeepers
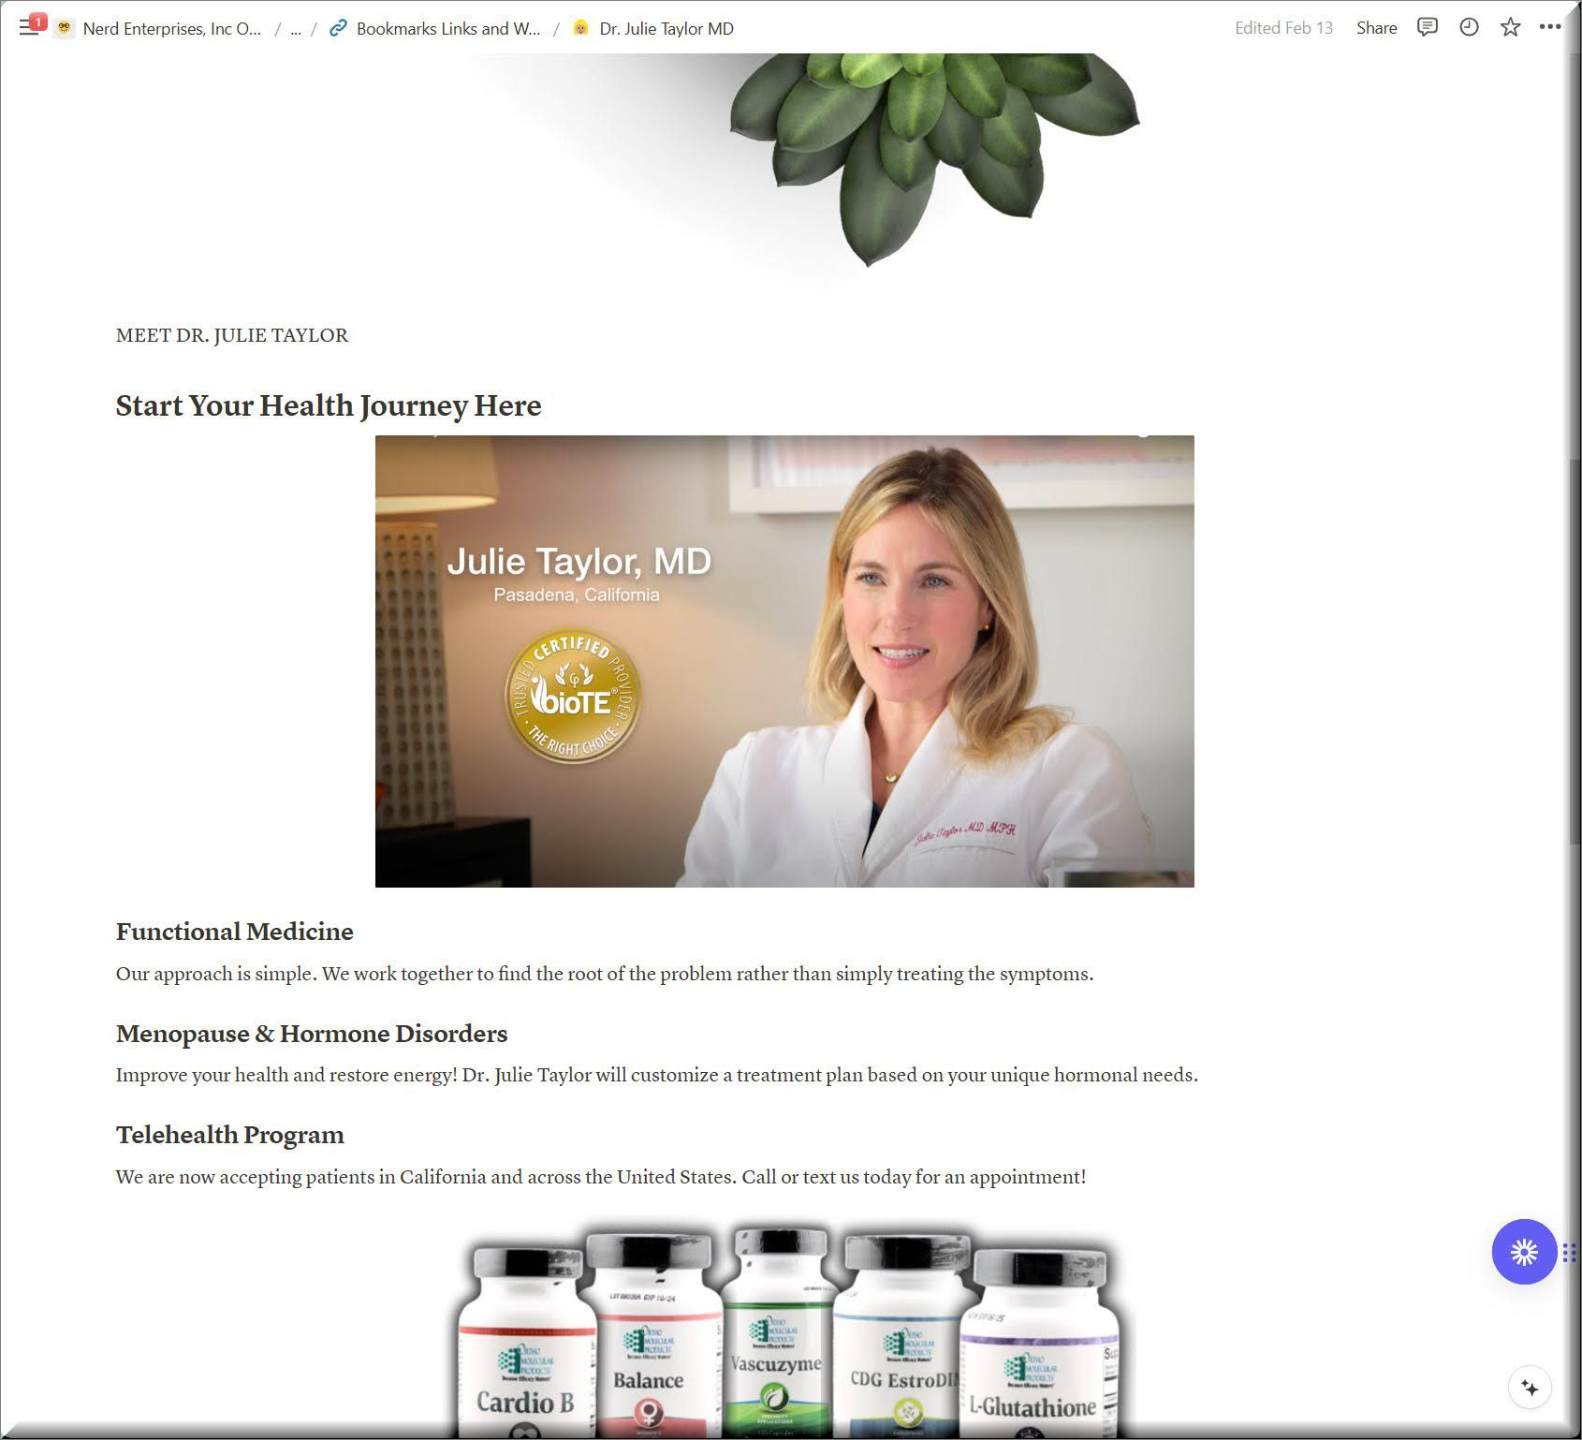
This particular bookmark originated with Notion’s web clipper, so expanding and scrolling down, look how nice this is…
How to Manage Bookmarks
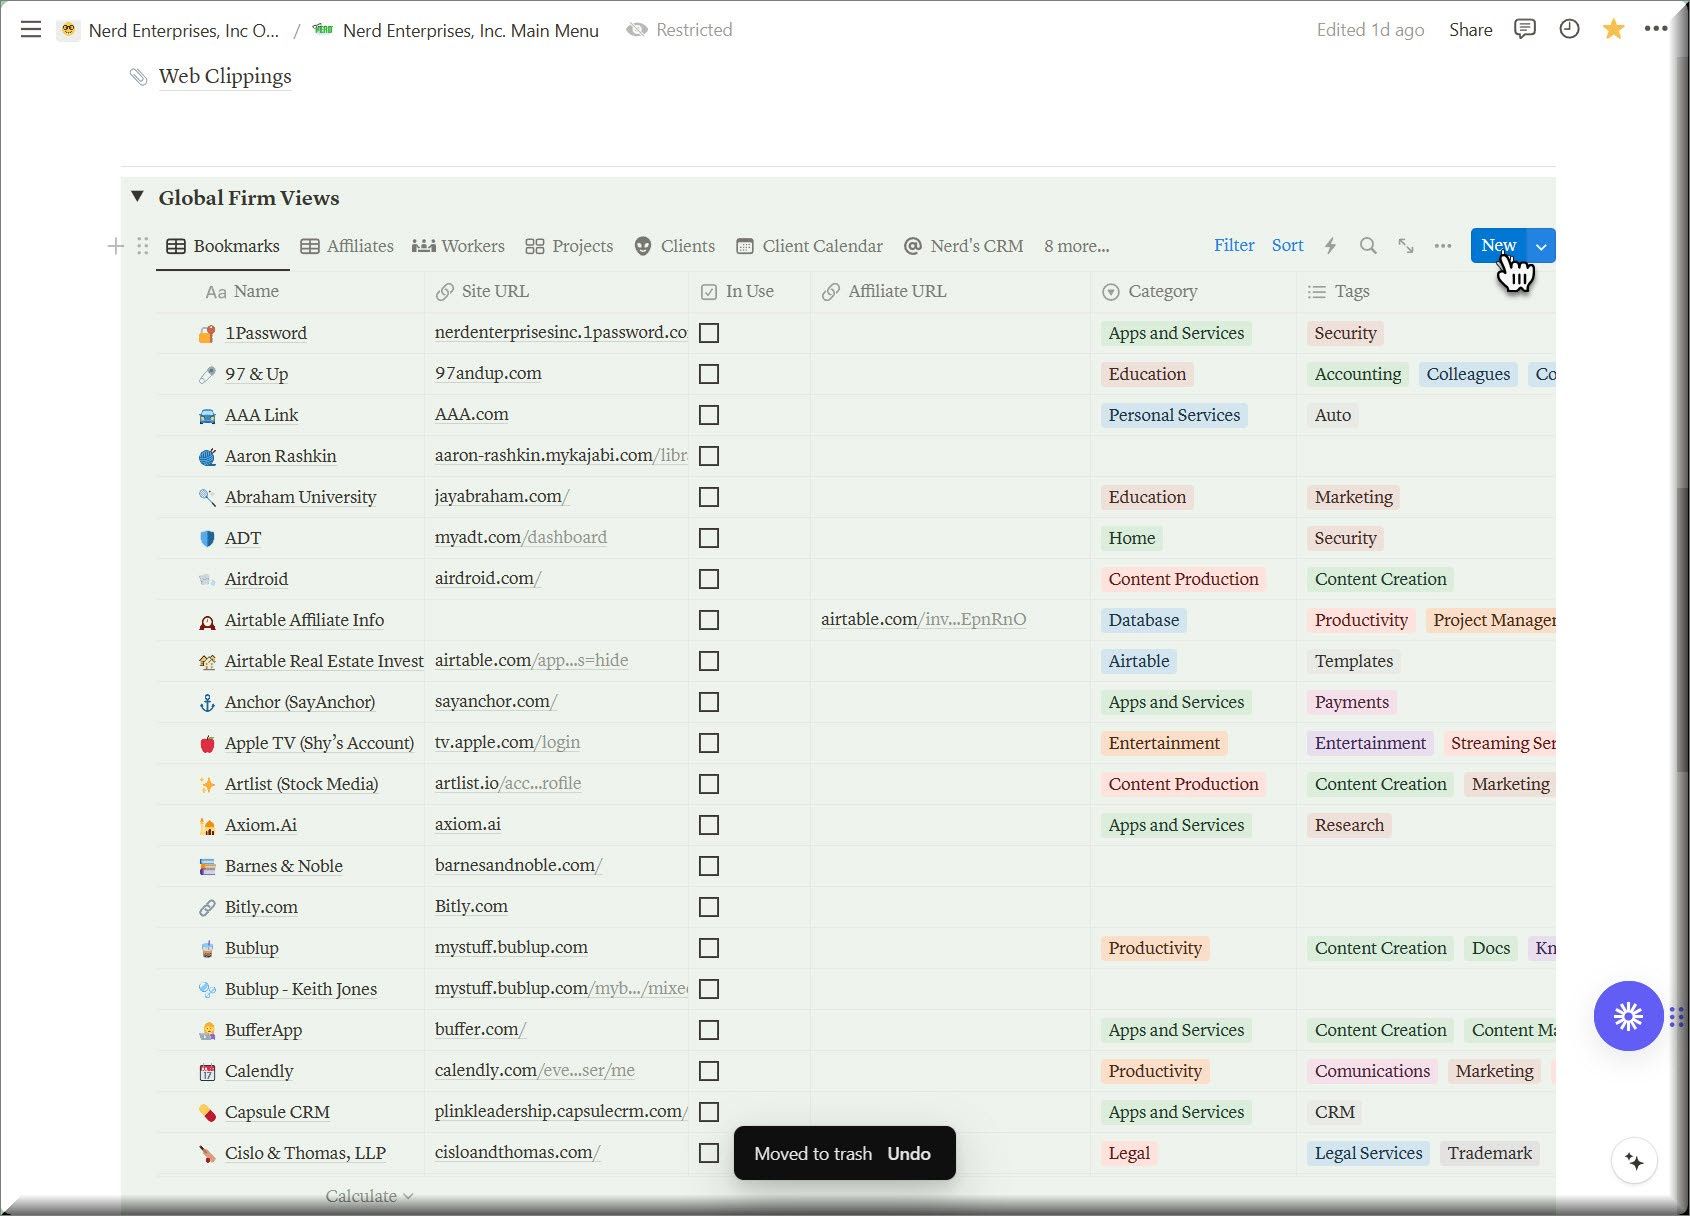
And of course you probably noticed that I can categorize them into major categories as well as use tags to help index things to make them easy to find or even filter in a database view.
This comes in super handy and you will never be able to do this in your browser!
Don’t get too hung up on categorizing them at first. Just build your library.
Here’s a quick look at how I might grab a link from the web clipper, clip it to my Web Clippings Database, and then move it to my Bookmarks.
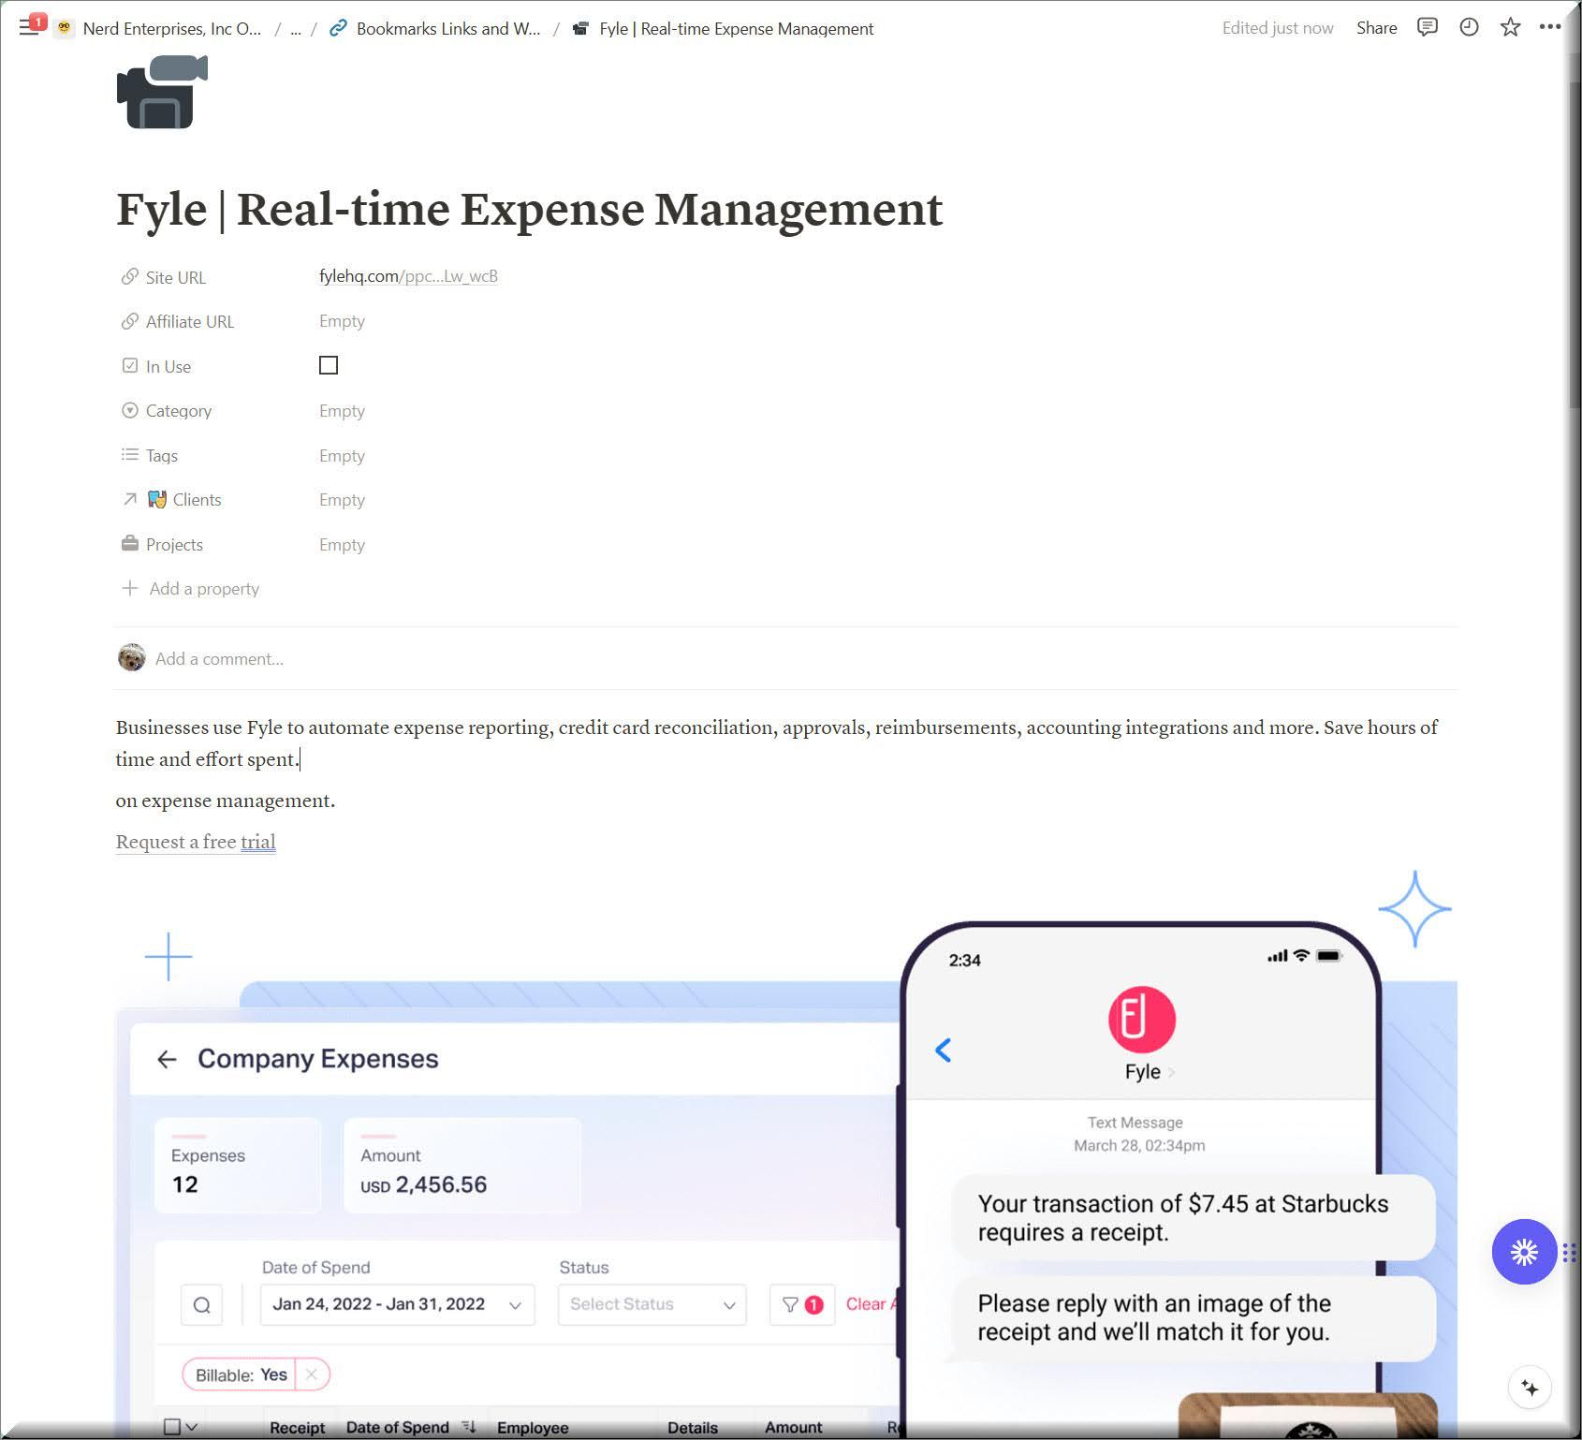
You will notice that it brings the URL into my Bookmarks Database as a new field. So I copy and paste it, and then delete the field.
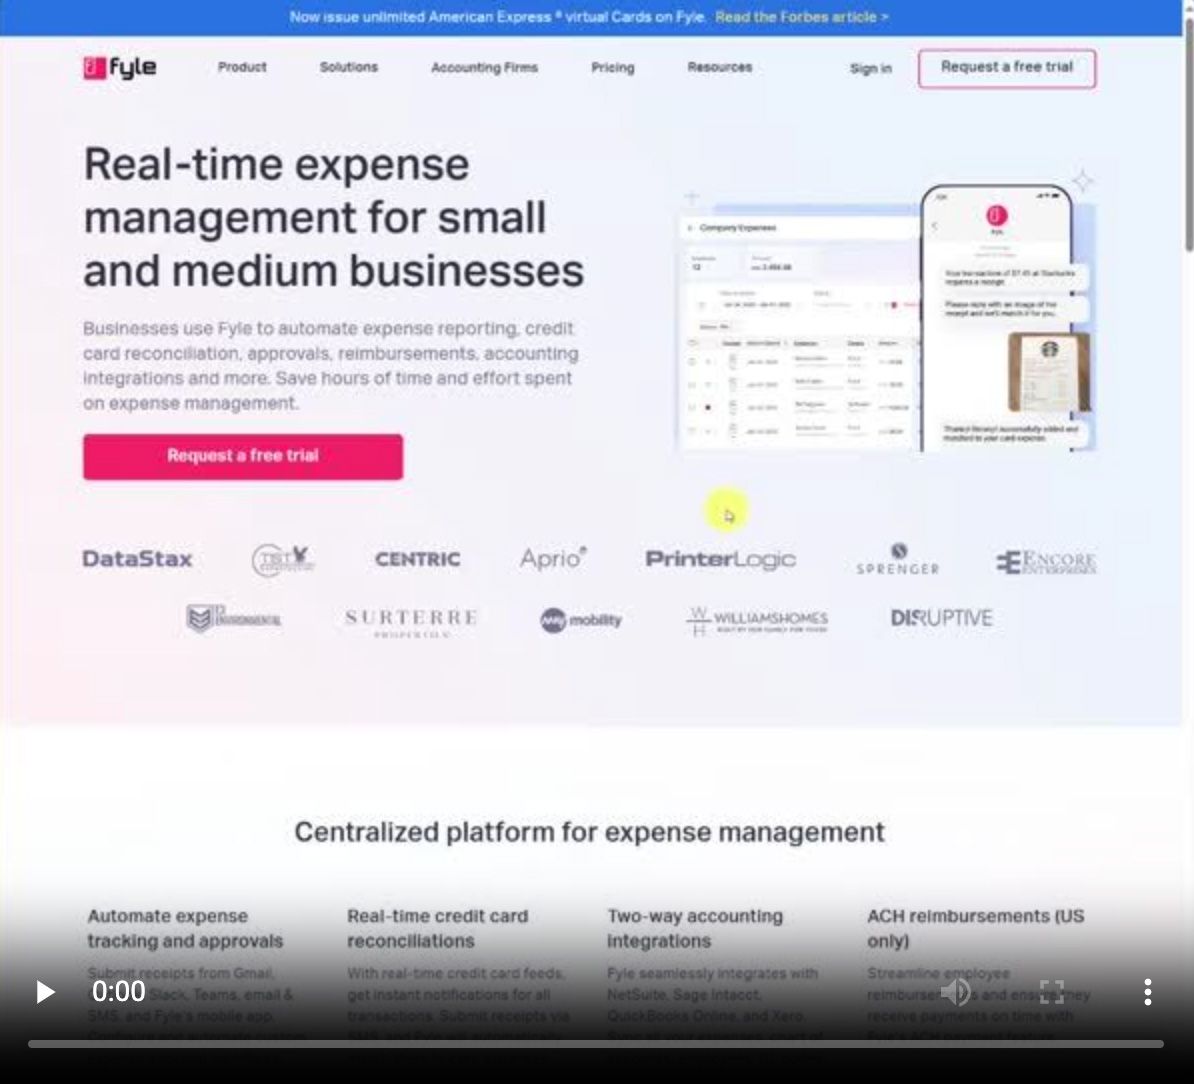
View a 1 min video (no audio) demonstrating this at the link below (Click image):
The other way to add a new bookmark is to add it directly in the database.
And copy and paste the URL from an open tab, and then fill out whatever you want / need.
Then you have the whole rest of that page to record any other information you want about that app or website.

How to Assign Bookmarks
For certain apps that I use for clients, I might want a bookmark specifically to that client’s area within the app.
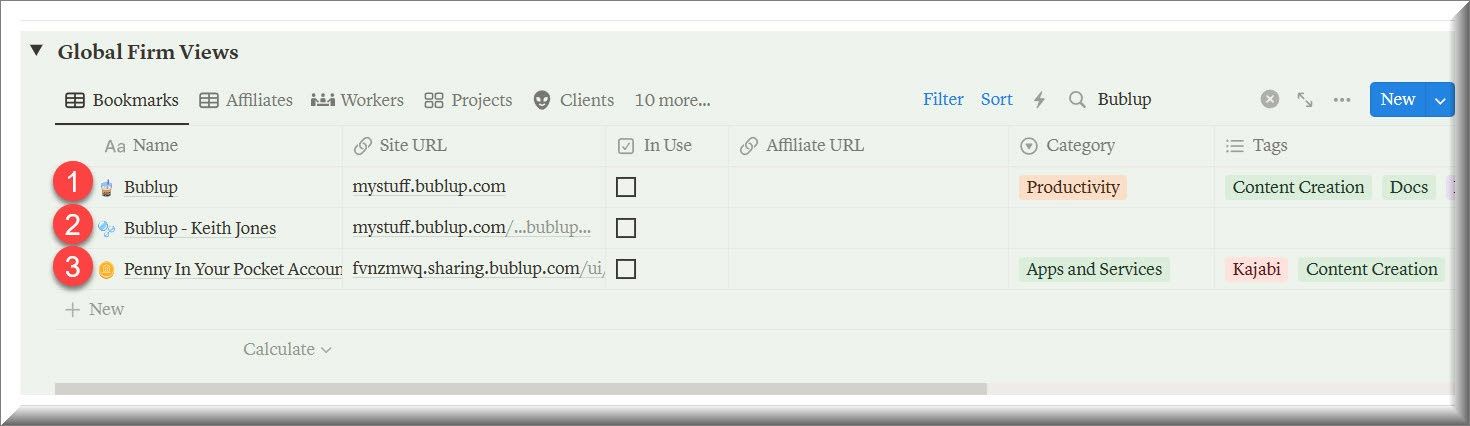
Take Bublup for example. When I work with a client I set up a folder for them because I like to use this to share screenshots with them, and I also really like it as a file upload portal. It’s just prettier than a Google Drive folder.
- This of course is the main / root Bublup Bookmark
- This is a client.
- This is an email that I forwarded to Bublup and then bookmarked its sharable link here.
- In reality I should grab that info and update it directly here so it becomes it’s own link.
My Dashlane Bookmark page has my Master PW there because I am frequently logged out of it (for security reasons) and this makes it quick and easy to grab that and get logged back in.
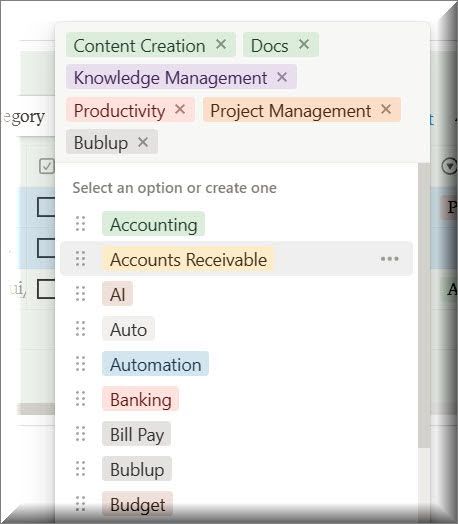
And while I am here, let’s Tag 1 and 2 with “Bublup”.

If you don’t have the tag created, you can add it on the fly.
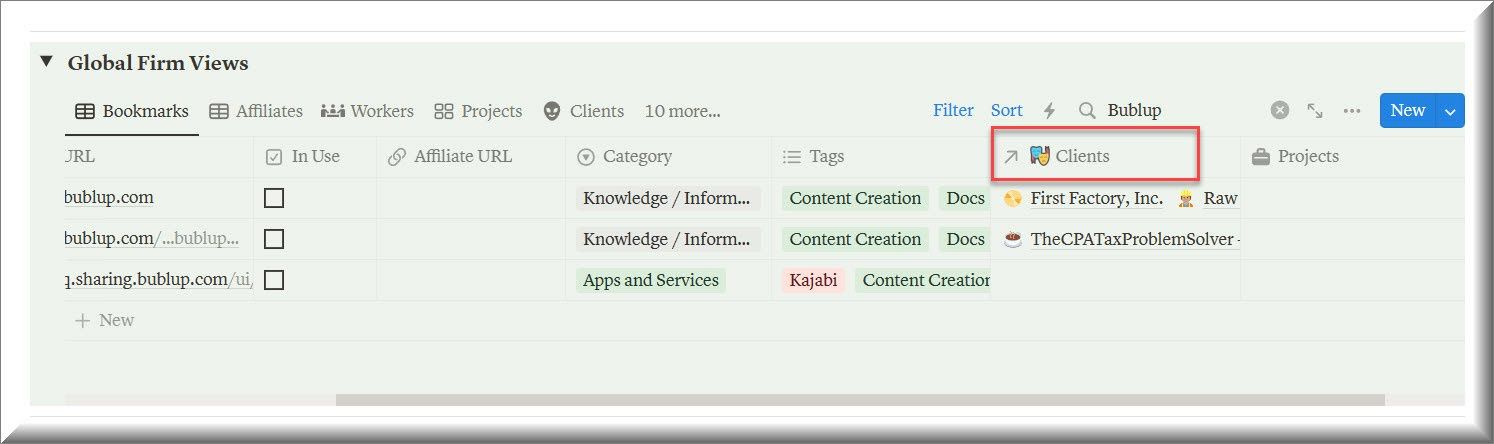
Each bookmark (page) has the Client property which is how you assign a bookmark to a client.
Watch the video below that demo’s this below:
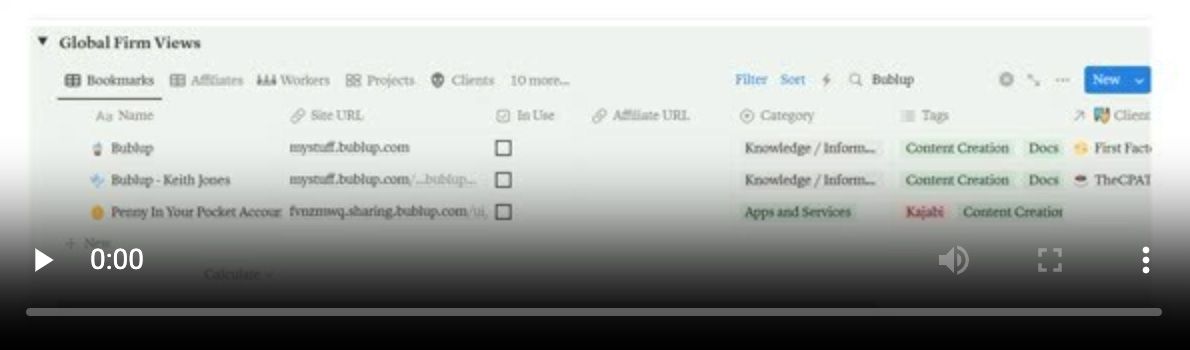
As you’ll see in the video, it is easy to assign clients from the view you can see in the above screenshot as well as by opening the page and accessing the properties at the top. Later in the course I will show you how to build out a note or project with a link to your Bookmarks Database that is focused so you can create multiple views carved up however you need.
UP NEXT: LESSON 5
How to Create and Manage Tasks
See ya in the next lesson ;-)
© Copyright 2024 Nerd Enterprises, Inc. All rights reserved. Reproduction or duplication of this content without our express written consent is strictly prohibited.
